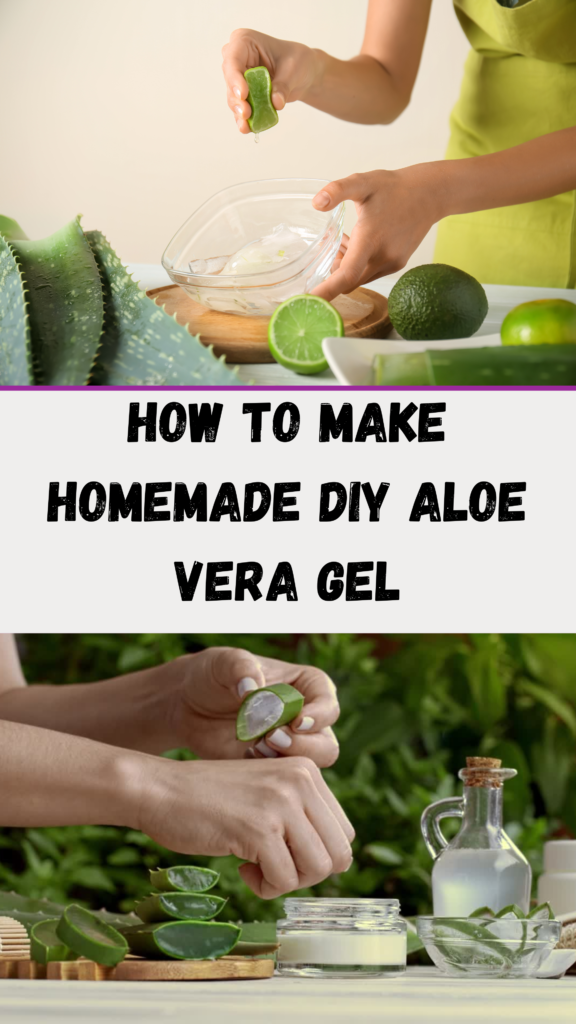
How to Make Homemade DIY Aloe Vera Gel
Aloe vera gel is a fantastic natural remedy known for its soothing, healing, and moisturizing properties. It’s used in skincare, hair care, and even for health purposes. The best part? You can easily make aloe vera gel at home using fresh aloe leaves, ensuring that your product is completely natural and free from harmful additives. Here’s how to do it!

What You’ll Need:
- Fresh Aloe Vera Leaves (from an aloe vera plant)
- Sharp Knife
- Spoon
- Blender or Food Processor
- Airtight Container (for storage)
- Optional Ingredients (like vitamin C or E for preservation)
Step-by-Step Instructions to Make Aloe Vera Gel
Step 1: Select and Harvest the Aloe Vera Leaf
- Choose a healthy, thick leaf from the outer part of the aloe vera plant. These outer leaves will contain the most gel.
- Cut the leaf close to the base using a sharp knife, as close to the stalk as possible.
Step 2: Drain the Yellow Resin (Aloin)
- After cutting the leaf, hold it upright to drain the yellow sap (called aloin) for about 10–15 minutes. This resin can cause skin irritation, so it’s important to let it drain fully.
Step 3: Peel the Aloe Vera Leaf
- Once the aloin has drained, place the leaf on a flat surface and carefully slice off the spiky edges using your knife.
- Peel off the top layer of the leaf to reveal the clear gel inside.
Step 4: Scoop Out the Aloe Vera Gel
- Use a spoon to scoop out the clear, jelly-like gel from the inside of the leaf. Try to avoid getting any of the green skin or leftover yellow resin.
Step 5: Blend the Gel
- Place the aloe vera gel into a blender or food processor and blend for a few seconds until it becomes a smooth, consistent gel.
Step 6: (Optional) Add Preservatives
- To extend the shelf life of your homemade aloe vera gel, you can add vitamin C powder or vitamin E oil. Add one teaspoon of vitamin C powder or 400 IU of vitamin E oil for every 1/4 cup of aloe gel. This will help preserve the gel for a longer time.
Step 7: Store the Gel
- Transfer the blended aloe vera gel into an airtight container. Store it in the refrigerator to keep it fresh. Without preservatives, it should last for about 1 week; with added preservatives, it can last up to 2 months.
Tips for Storing Aloe Vera Gel:
- Refrigerate immediately to keep the gel fresh.
- Freeze the gel in ice cube trays if you want it to last longer. You can easily pop out a cube whenever you need it.
How to Use Aloe Vera Gel:
- Moisturizer for Skin: Apply aloe vera gel directly to your skin after washing to keep it hydrated and soft.
- Soothing Sunburn: Aloe vera’s cooling properties make it an excellent remedy for sunburns. Apply generously to affected areas for relief.
- Hair Mask: Use aloe vera gel as a leave-in conditioner or mix it with your favorite hair mask to nourish your scalp and hair.
- Makeup Remover: Aloe vera gel works as a gentle and natural makeup remover, especially for sensitive skin.
- Acne Treatment: Thanks to its anti-inflammatory properties, applying aloe vera gel can help reduce redness and inflammation caused by acne.
Conclusion
Making your own aloe vera gel at home is simple, cost-effective, and guarantees that you are using a 100% natural product. Aloe vera is a versatile ingredient that can be used for skin, hair, and health, making it a must-have in your DIY skincare arsenal.